Tuesday, September 10, 2013

Apple Smiles!


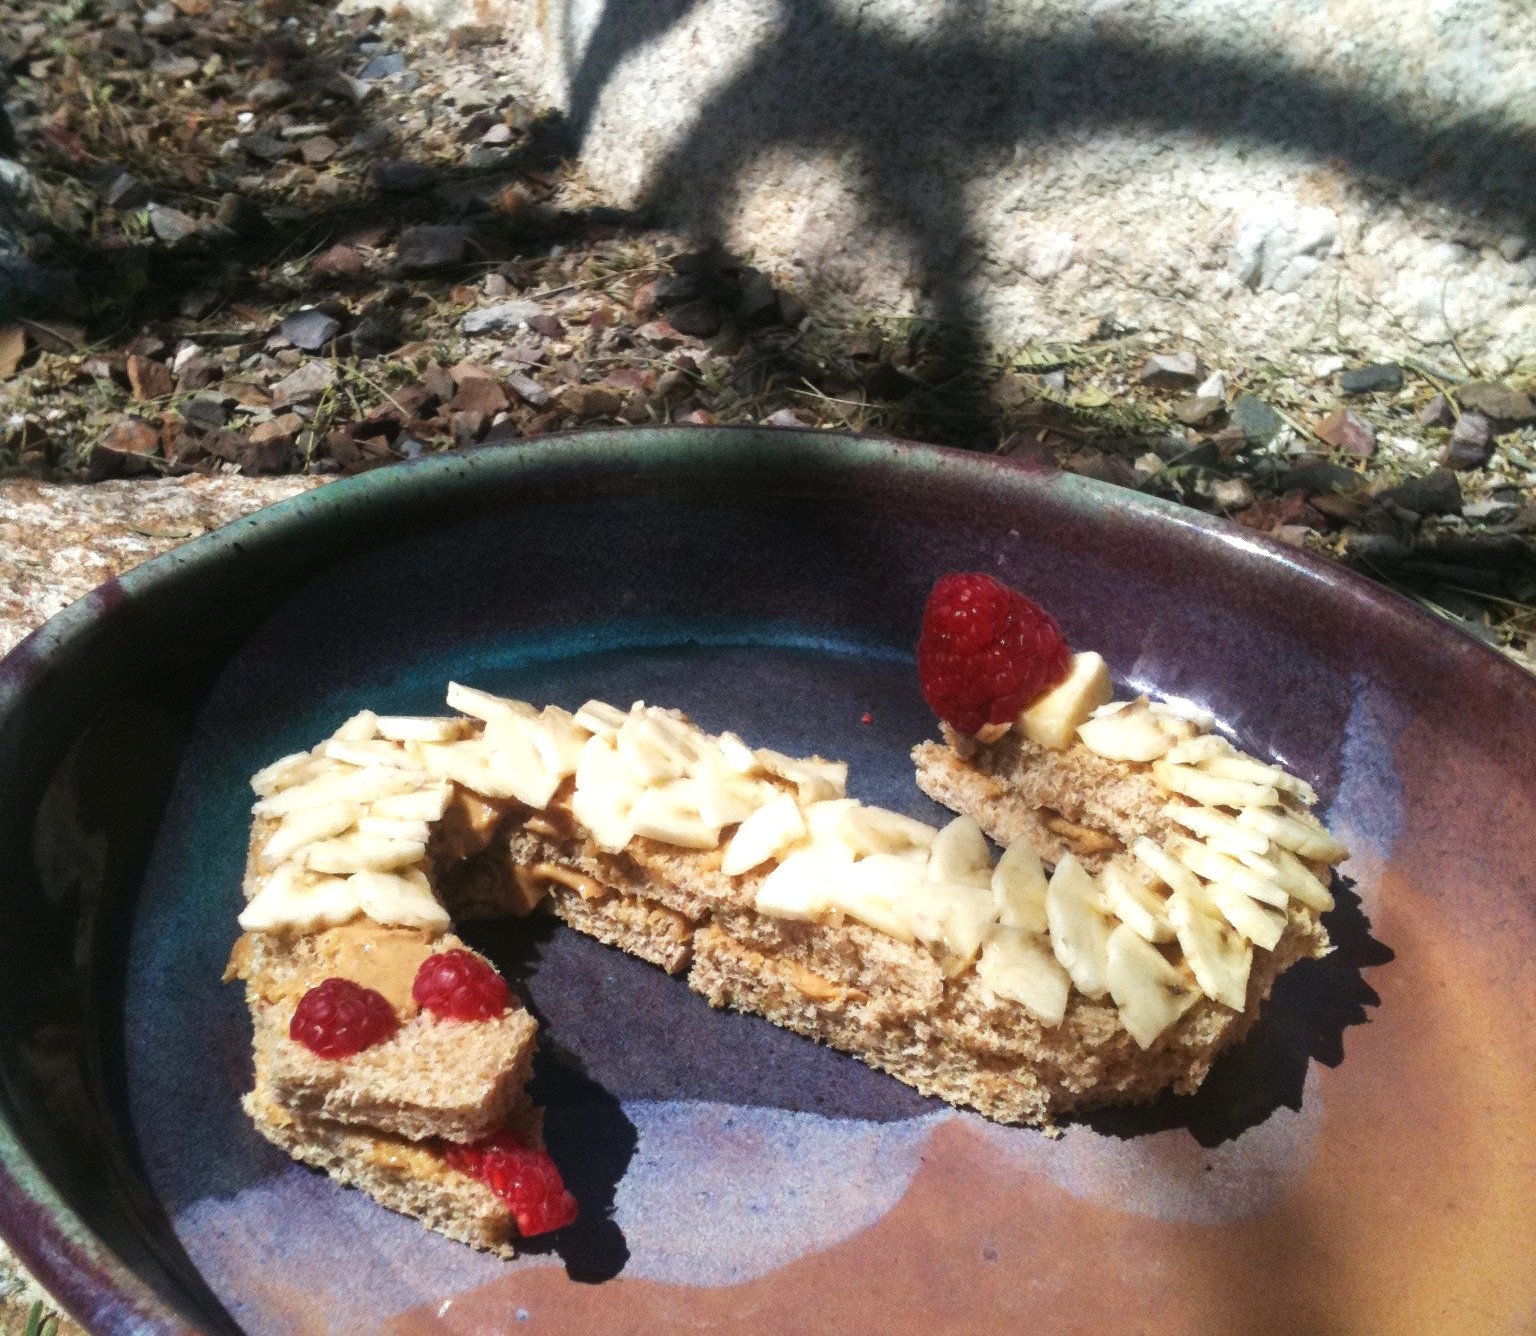
My daughter started preschool this year. I had visions that she would be the well adjusted child that took charge of the class while displaying her keen building block skills and mastery of the paint brush. Instead, she proved that she has serious mommy issues and cannot stand to be away from me for even a minute. This, of course, made me feel awesome that my child loves me so much...for like a minute. Afterwards I needed to find ways to bring a smile to her sweet face. Make a smile to get a smile is my motto. Here is what I did.

What you need: 


  • apple
  • peanut butter
  • mini marshmallows


Directions:

Core your apple and cut into slices.

Spread 2 apple slices with a teaspoon of peanut butter.

Line up your apple slices and prepare for the implants.

Here is ol' Bucky on his way to becoming a full set of pearly whites.

A toothy grin is coming into focus now.


And without a dentist in sight here you have a perfect smile!


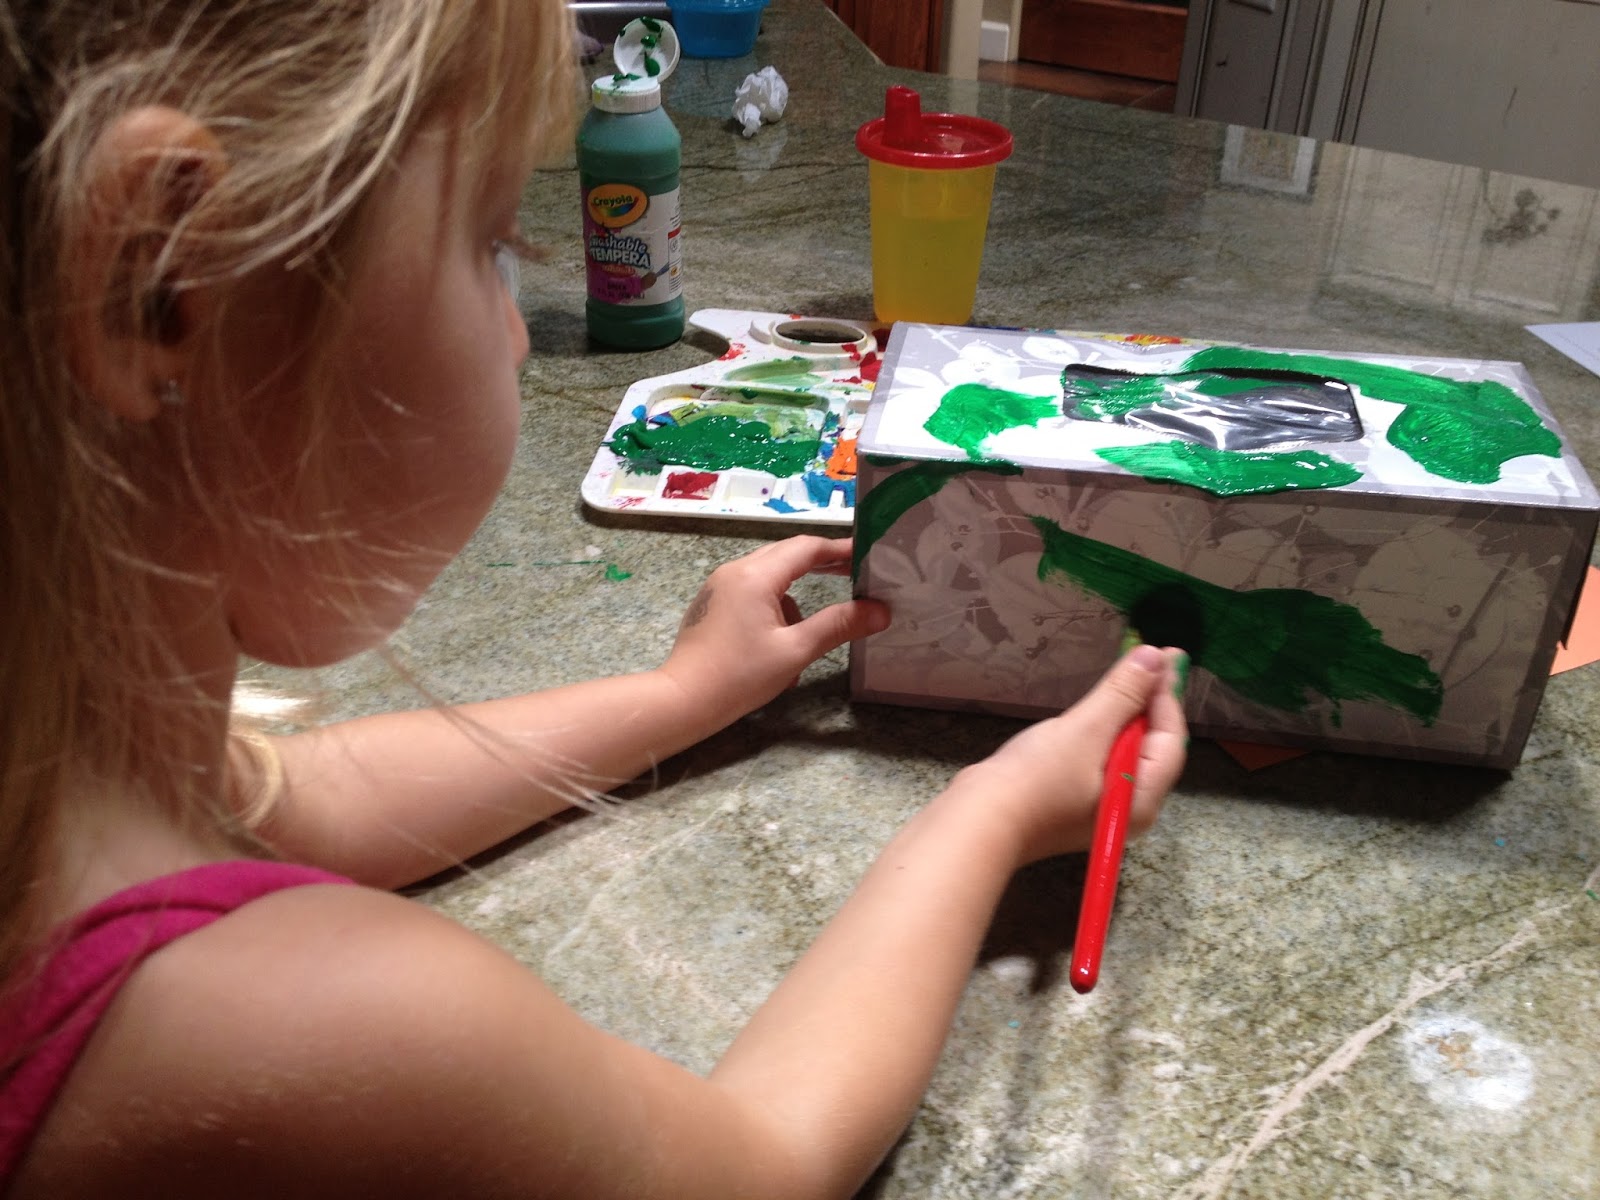
FOOD PLAY:  TOOTHBRUSH ART 

The perfect art project to go with these Apple Smiles had to include a toothbrush. It is a brush that spends all its time smothered in flouride and never gets to truly express itself. Now is its time to shine!

What You Need:
  • Toothbrush
  • Paint
  • Paper


Using your toothbrush as the paintbrush and brush your canvas!


Be sure not to brush your teeth with the same toothbrush with twhich you brushed your canvas!!


And here you go.. Toothbrush Art!

Monday, September 2, 2013

BACON!

 
It is Sunday morning in the Fall. That means the men in our lives are gearing up for a big day of neglecting the kids, the house and even you to watch football. Many of us have begrudgingly accepted this as just the way it is while secretly wishing we could spend a day based around our own wants and needs. (Ahhh..I am imagining that right now.... no dishes, no meals to prepare, no butts to wipe, no double team crying, no crumbs to sweep up...honestly though, I have no idea at all what I would go and do. Truth be told I would be lost without my babies.)

But back to the man of my life and his wants and needs. Reality is all he wants is bacon. And what better way to send him off with his Sunday NFL ticket then with bacon. So, here is the breakfast of ex-champions for you dear!


 What you need:
  • unbaked cinnamom rolls
  • bacon

Directions:

Cook bacon. I put it in the microwave for ease of cooking and clean up. I line a plate with lots of paper towels then place bacon strips on it and then cover with more paper towels. Then I cook them for a minute per strip. If you want more crunchy bacon add on a minute or two.

And the best advice I can give you is that if you decide to cook the bacon on the stove top never, ever do it naked. You could get serious burns in all the wrong places and totally freak out your children!!

While bacon is cooking remove cinnamon rolls and unroll them. Then, once bacon is cool enough to handle place a strip on top of the unrolled cinnamon roll.


To reach bacon nirvana roll up that cinnamon roll around the bacon strip.


Bake according to cinnamon roll instructions, usually at 350 degrees for 15- 18 minutes.


These delicious baked treats will make him one happy boy! Oh, and Go Patriots!!

Sunday, September 1, 2013

Dragon Eggs


Dragon eggs are not as easy to come by as they used to be (for any of you that watch Game of Thrones you know what I am talking about.) Luckily, you don't have to walk through fire or brimstone to get them anymore. Recent news reports indicate that chickens in the northern region of Scotland have been laying dragon eggs for decades. You just have to get your hands on them. At least that is what you can tell your kiddos. Remember when it comes to kids imagination can be everything!  So the question is, what came first the chicken or the dragon egg?
 
 
What you need:
  • eggs
  • food coloring
  • cups of water


Directions:
 
Place eggs in pot of cold water and bring eggs to a boil. After eggs have boiled for one minute remove them from the heat and cover the pot. Leave them alone for 17 minutes. Then transfer them to an ice bath for 10 minutes.
 
During this time fill cups with water and add in food coloring. The darker the food coloring the better (yellow isnt that dramatic.) I dropped in 25 drops to about 1 1/2 cups of water.


By this time your eggs will be cooled and it is time to begin the transformation to Dragon Eggs.Very gently crack the shell of the egg by tapping it lightly on the counter. Try your best not to crack the egg so hard that the shell peels off (if this happens dont fret, just ease up!)
 
 
Once the shell is cracked gently drop them into the cups of colored water. Place them in the refrigerator over night (the longer they spend in the food coloring the darker they will become.)

The next day you will have hatched amazingly rare Dragon Eggs! Be sure to place them in a nest to really create an effect. The question now becomes what to do with them.


Some ideas:
  • eat the hard boiled egg as is - this is what we did.
  • cut them in half, scoop out the yolk and add in a tiny dragon toy to achieve a full dragon effect (I couldnt find one but I didnt look that hard...sorry.)
  • make deviled dragon eggs out of them. I brought these to a Harry Potter themed party and called them "Hagrid's Dragon Eggs."
  •  
FOOD PLAY ALERT:
 
DRAGON TOES
 
 
These are ferocious little feet that are easy and fun to make!
 
What you need:
  • 2 rectangle sized tissue boxes
  • favorite paint color and paint brush
  • construction paper and scissors
Directions:
Use all the tissues in the box and then have your kiddo paint the box their favorite dragon color. Use the construction paper to cut out the dragon toenails. If you want to get fancy you can add some glitter to those toes!
 
 
Get those new feet on your tot and have them growl and roar all around the house.


The cutest little dragon ever!


Friday, August 23, 2013

Magic Wands


"Salagadoola mechicka boola bibbidi-bobbidi-boo
It'll do magic believe it or not
bibbidi-bobbidi-boo."
 
With a flip of their magic wand your kiddo will make their breakfast disappear... into thier bellies of course. Your little sorcerer might even be able to make you hop up and down on one leg, bark like a dog or even fly! See what they can do.
 
Moreoever, as a parent what could be more magical then getting food into your kiddo as you are running out the door late for school or that early morning soccer game.
 
 
What you need:
  • 4 sausage links
  • 2 waffles (frozen are easiest!)
  • 1 banana
  • 1/4 cup of berries
  • Real maple syrup (come on, your kids deserve the real stuff not that high fructose corn syrup!!)
  • 4 popsicle sticks
 
Directions:
 
Cook the sausages and the waffles as directed on the packages. Then cut them into pieces. Cut bananas into 1/2 inch thick bites. Using popsicle sticks skewer each food item until the stick is filled. Drizzle some syrup onto each stick. Then grab them and go, go, go!!
 
There is no Food Play activity because you are headed out the door!


Monday, August 19, 2013

Rattlesnake


Living in Arizona rattlesnakes are just a given. They can be lurking around any rock, in your pool, by the swingset, under your car or in your kitchen! I am totally freaked out right now just thinking about it!
 
Making funny sandwiches is nothing new. But when your sandwich could bite back it defintely gets your attention. So, let them eat snake!
 

What you need:
  •  2 slices of bread
  • peanut/almond/soynut butter
  •     1 banana
  •     2 raspberries 


Directions:


 Cut the crust off the slices of bread


Spread the bread with your favorite nut butter. Then cut into 6 pieces.

 
Arrange your pieces into a snake like pattern.
 
Quarter your banana and cut thin scale shaped slices. Places the scales along the snake. To help them stay in place better you can spread some of the nut butter on the top of the bread too!
 
Once you have the scales in place use a dab of the nut butter to stick on your rattle (raspberry.) Shape the head of the snake into a diamond shape and add a slithering snake tongue and some serpentine eyes!


FOOD PLAY ALERT: SNAKE!!
 
Paper Ring Snake. Let them eat snake and let them play snake! Here is a fun and easy snake craft to get your little one speaking parseltongue in no time. You don't know what that is?...eh, don't worry about it!


All you need is some paper cut into strips, glue and googly eyes if you got them (a black pen workes well too.)
 
Put a dab of glue on the edge of the paper strip and bring other end over to make a ring. Make sure with teh next one you loop it through the first ring before sealing the ring with glue. Continue until the snake is as long as you want it.
 
 
 Add some eyes, make a tongue and even a paper rattle and there you have it.
 
 
Ahhhh snake!!!!
 

Tuesday, August 13, 2013

I Want My Mummy!


Meatloaf is just about the most boring food ever. Think about it..."here you go kid, your loaf of meat is ready." While most kids already like meatloaf (my daughter claims it is her favorite food) it is in desperate need of a revamp. Meatloaf is getting mummified (minus any embalming substances!) So now that plain ol' loaf of meat has got a new twist and your kids will LOVE it!!  This is sure to spook them out and it isnt even Halloween yet! 
 
What you need:
For meatloaf:
  • 1 egg, beaten
  • 1 TBS ketchup
  • 1 TBS dijon mustard
  • 1 Tsp Worchestire Sauce
  • 1 medium onion, grated (using a cheese grater makes cutting up an onion easier)
  • 2 cloves of garlic, minced
  • salt and pepper
  • 1 lb ground beef
  • 1 cup breadcrumbs
  • optional: 1 diced roasted red pepper (I add it to my meatloaf and it adds a little something special.)
For mummy wraps:
  • 1 premade pie crust
  • 1 egg, beaten
 
Directions:
 
Preheat oven to 400 degrees.
 
In a large bowl mix together egg, ketchup, mustard, Worchestire, onion, garlic, salt and pepper, red pepper.  Then add ground beef to the mixture. Lastly, mix in breadcrumbs. Put your loaf of meat into a loaf pan.
 
Bake for 35-40 minutes.
 
Take meatloaf out of the oven and allow to cool.

Now it's time to make your mummy. Don't worry no need for any canopic jars here (FYI, Canopic jars were used by the ancient Egyptians during the mummification process to store and preserve parts of their pre-mummy owner for the afterlife. What?! Too much information.)

Unroll your thawed pie crust.


Place 1 inch wide slices of meat down the center of the crust. Make sure to leave at least an inch on the top and the bottom.


With a sharp knife cut 1/2 to 1 inch slices down both sides of the pie crust, cutting from the meat to the outer edge. Fold these "mummy wraps" over the meat loaf.

Once all "mummy wraps" are in place, make your mummies face. Here I used ketchup for the face and cut green peppers for the eyes (you could also use sliced olives, pieces of the pie crust dough, cheerios, whatever...) Last thing to do is to brush some egg on the dough to make it brown up nicely.
 

 And there you have your yummy mummy. And if you are wondering, yes, the pie crust makes the meatloaf taste amazing!


That meatloaf is kkkrrazzyyy!

FOOD PLAY ALERT:
I thought doing a heiroglyphic game would be really fun here. Then I thought of an easier and less educational activity to do with your kiddos in conjunction with your Monday Mummy Meatloaf night.
 
All you need is some rolls of toilet paper and a willing participant. I got both my girls mummied up and now everytime they follow me into the bathroom they try to wrap themselves in toilet paper. I did have them wrap me up but I couldnt take a picture of me with my arms pinned to my sides.


Friday, August 2, 2013

Banana Boat

Nutella, which we affectionately call 'chocolate spread,'  is a fan favorite in our house. If my daughter had her way she would eat gobs of it right off the spoon for every meal. As a good mother I lovingly spread it on a piece of whole wheat bread in hopes of providing a more well balanced snack. She of course eats off the spread leaving a mangled piece of bread behind.


This morning was going to be no different of course. And then, I decided to try a 'chocolate spread' sandwich with sliced bananas. It was delicious! As I sat there looking at the banana I realized that I had a new vessel for delivering the glorious Nutella. At worst I would find a mangled, mushy piece of banana left behind, probably smashed into the rug somewhere. At best I would get some fruit into that child of mine.

I quickly hollowed out the banana with a melon baller and filled it in with the Nutella. It was a moment of spontaneous genius! I had to take pictures of it to share with all of you. And yes, the pictures do look a bit creepy.
 
Hollow out the banana and fill in with nutella.

My daughter absolutely loved this! And she ate every bite of it. No smashed banana left behind!


So yummy!
Almost done and still wants more.


Enjoy!