Happy Halloween!!
I love this holiday! Everyone acts a little sillier and a but more strange.... kinda like me. Our house is decorated with tombstones on the grass, scarecrows in the planters, pumpkins everywhere, spiders all over the fireplace, and ravens lining the front gate. With toddlers I found I cannot make it too scary. I took Caroline into one of those Halloween stores and I am pretty sure it provided her with enough terror to last her a few years. She was screaming. I lost a mommy point that day. But, my youngest absolutely loved it! She wanted to be scared over and over and would just laugh. She particularly liked the zombie children pop up toys... freaky!!!!
Anyways, Halloween is here. Last night we carved pumpkins and made special ghostly treats.
The most favorite dessert I make is a pavlova. It is perfectly sweet and has just about all the main food groups: eggs, cream and fruit. It is a meal in itself. I have had this recipe for years now. It had taken me many tries to perfect it. So rather than make you go through all the agony, I have condensed the recipe to give you a simple meringue (though the only difference between this and my pavlova is the cream and berries that would go on top.)
What you need:
3 egg whites, room temperature
1 cup superfine sugar (if you do not have superfine sugar don't worry, use regular sugar)
1/2 teaspoon vanilla
1/2 teaspoon white wine vinegar (not the egg dying kinda vinegar... pay attention!)
Directions:
Preheat oven to 350 degrees.
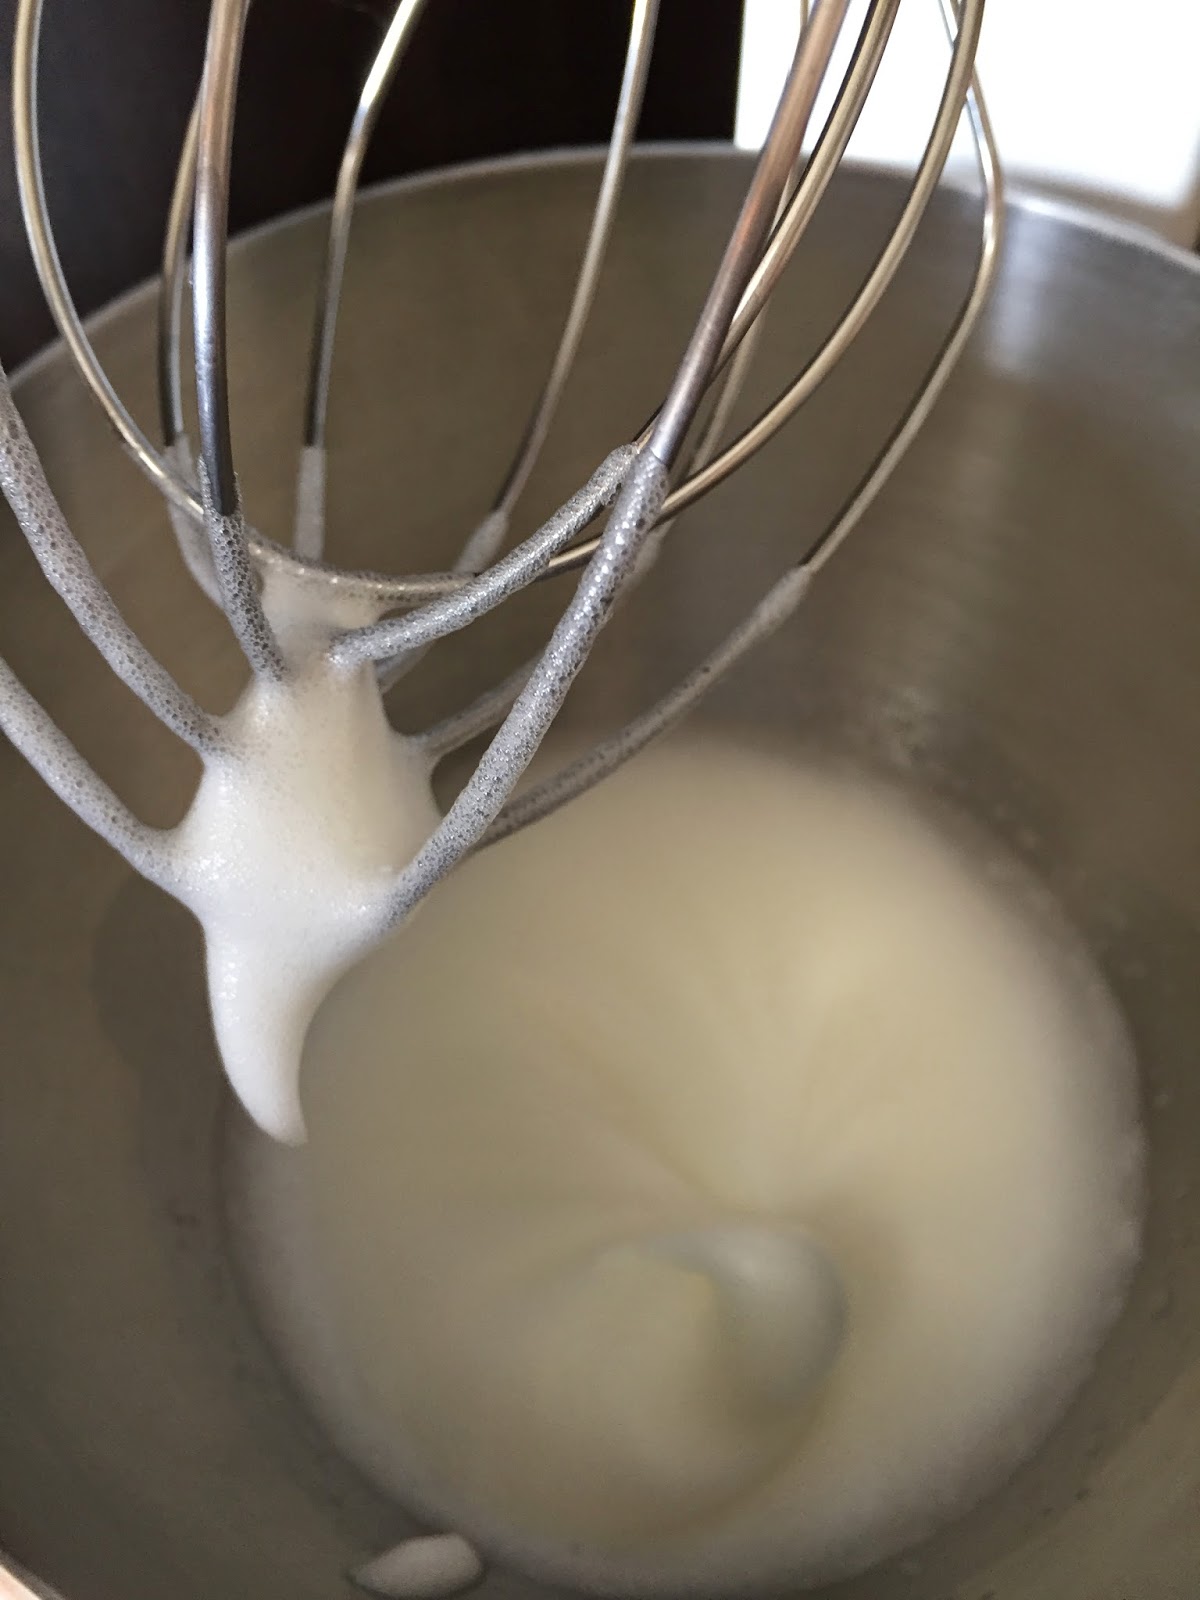
Beat the egg whites until satiny peaks form.
Then beat in the sugar a tablespoon at a time until the meringue is stiff and shiny.
My "professional" advice here is to pay very close attention to your egg whites. If they are over beaten they will be stiff and yucky. Get your kiddos set up with a snack and a favorite show at this point so you can have 10 minutes to yourself for this!
Turn off the mixer and add the vanilla and white wine vinegar. Use a spatula to fold it all in (folding in is almost the same as mixing but you do it slowly and more carefully.)
Prepare a pastry bag with a big open tip (or just cut a hole in the corner of a plastic bag.) Fill it with the meringue (I find that if you put the bag into a tall cup and fold over the sides you can easily fill up your bag without making a horrible mess.)
To make the ghostly meringues just pipe out the meringue in circles one on top of the other; getting smaller as you build up. I used a smaller tip and created something more like mummy ghosts but, no worries, the kids get the idea and I look even more creative!! The point is just use your own creative discretion and I know they will be great. I even made a few that were flat.
Place them into the oven and immediately turn the temperature down to 300 degrees. Bake for 30 minutes. Then turn off the heat and leave them in the oven for another 30 minutes. Remove from oven and allow to cool completely before adding faces to your ghosts.
I then adorned my ghosts with some candy eyes and raisins for a mouth. I used store bought frosting to stick them on.


.jpg)


.JPG)

