

I sometimes feel that I love my girls more than any mother has ever loved their baby in the entire history of the world (I am sure we have all felt like that, right?) With Valentine`s Day coming up there is no better time to let them feel the love that we have for them.
V-day was always made special by my mother when I was growing up. She decorated the rarely used dining room with so many flowers, hearts, twinkly lights, and candies that you might have thought cupid threw up in there. It was beautiful! And we always had fondue for dinner that night. We each had our own color skewer and we would all clamor around the communal pot cooking our food. It was a fun way to bring us all together! It is a tradition I will begin with my children when I can trust them around a boiling pot of oil! For now, I will decorate my own dining room in as much red and pink as possible and provide them with tasty treats, some love tokens and a few crafts.
These `I heart you` treats, better known as palmiers, are full of yummy goodness. My oldest daughter ate 5 at once and wanted more (unfortunately for her I ate the rest!!!) Puff pastry is another wonderfully easy dough that you will find at your supermarket. Also, cardamon may not be a spice that you have stocked up in your pantry but I guarantee you that it is worth the purchase.
What You Need:
Puff Pastry Dough
2 TBS Butter, melted
1/4 cup Brown Sugar
1 TSP Cardamon
2 TBS Cinnamon
Directions:
Preheat oven at 450 degrees.
Defrost your store bought, pre-made puff pastry dough. Once defrosted, unroll the dough and spread on the butter.


In a small mixing bowl, mix together the brown sugar, cardamon and cinnamon. And then sprinkle it evenly on top of the buttered dough.


Now for the "tricky" part. In order to get the wonderful heart shape you will need to roll the dough in a particular way. Fold the sides of the square towards the center so that they go halfway to the middle. Then fold them again so that the two folds meet exactly in the middle. Then fold one half over the other half. Place in refrigerator for 20-30 minutes to harden up a bit.


Slice the dough into 1/4-inch slices and place them on a baking sheet lined with parchment paper. Place in the over for 5-6 minutes. Then using a spatula flip each cookie over and bake for another 4-5 minutes. Remove from oven and let them cool.


I served my treats with some red and pink and a little love note (she cannot read yet but she could feel the love for sure!)
.JPG)
FOOD PLAY:
"I Heart You" Stamp
What you need:

- Toilet Paper Roll
- 2 small rubber bands
- red paint
- pink paint
- whatever color paint
Directions:
Fold in the toiler paper roll to make a heart shape (see picture.) Use the rubber bands to hold your heart in place. Squeeze paint onto a plate to begin the stamping fun!


It is so easy an 18 month old can do it!
.JPG)
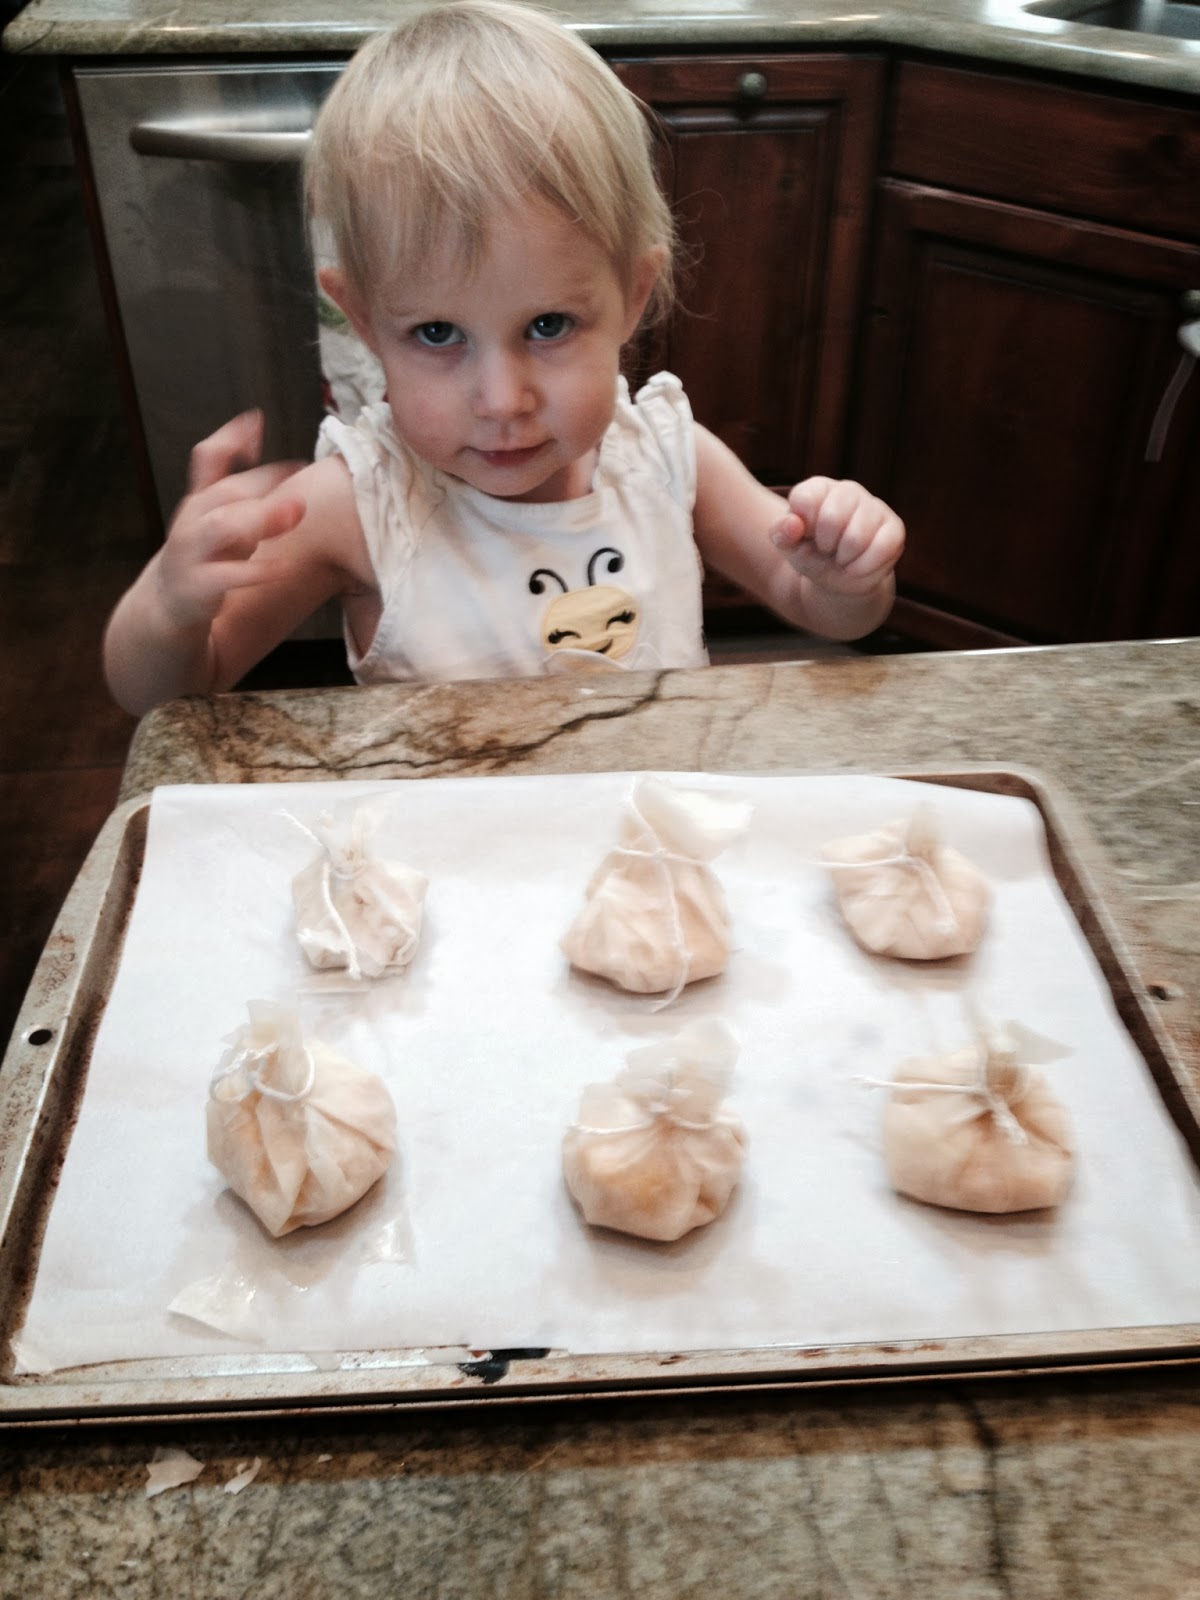
My love bugs
.JPG)
(and yes, that is paint on my wall!)


.JPG)


.JPG)


.JPG)


.JPG)


